
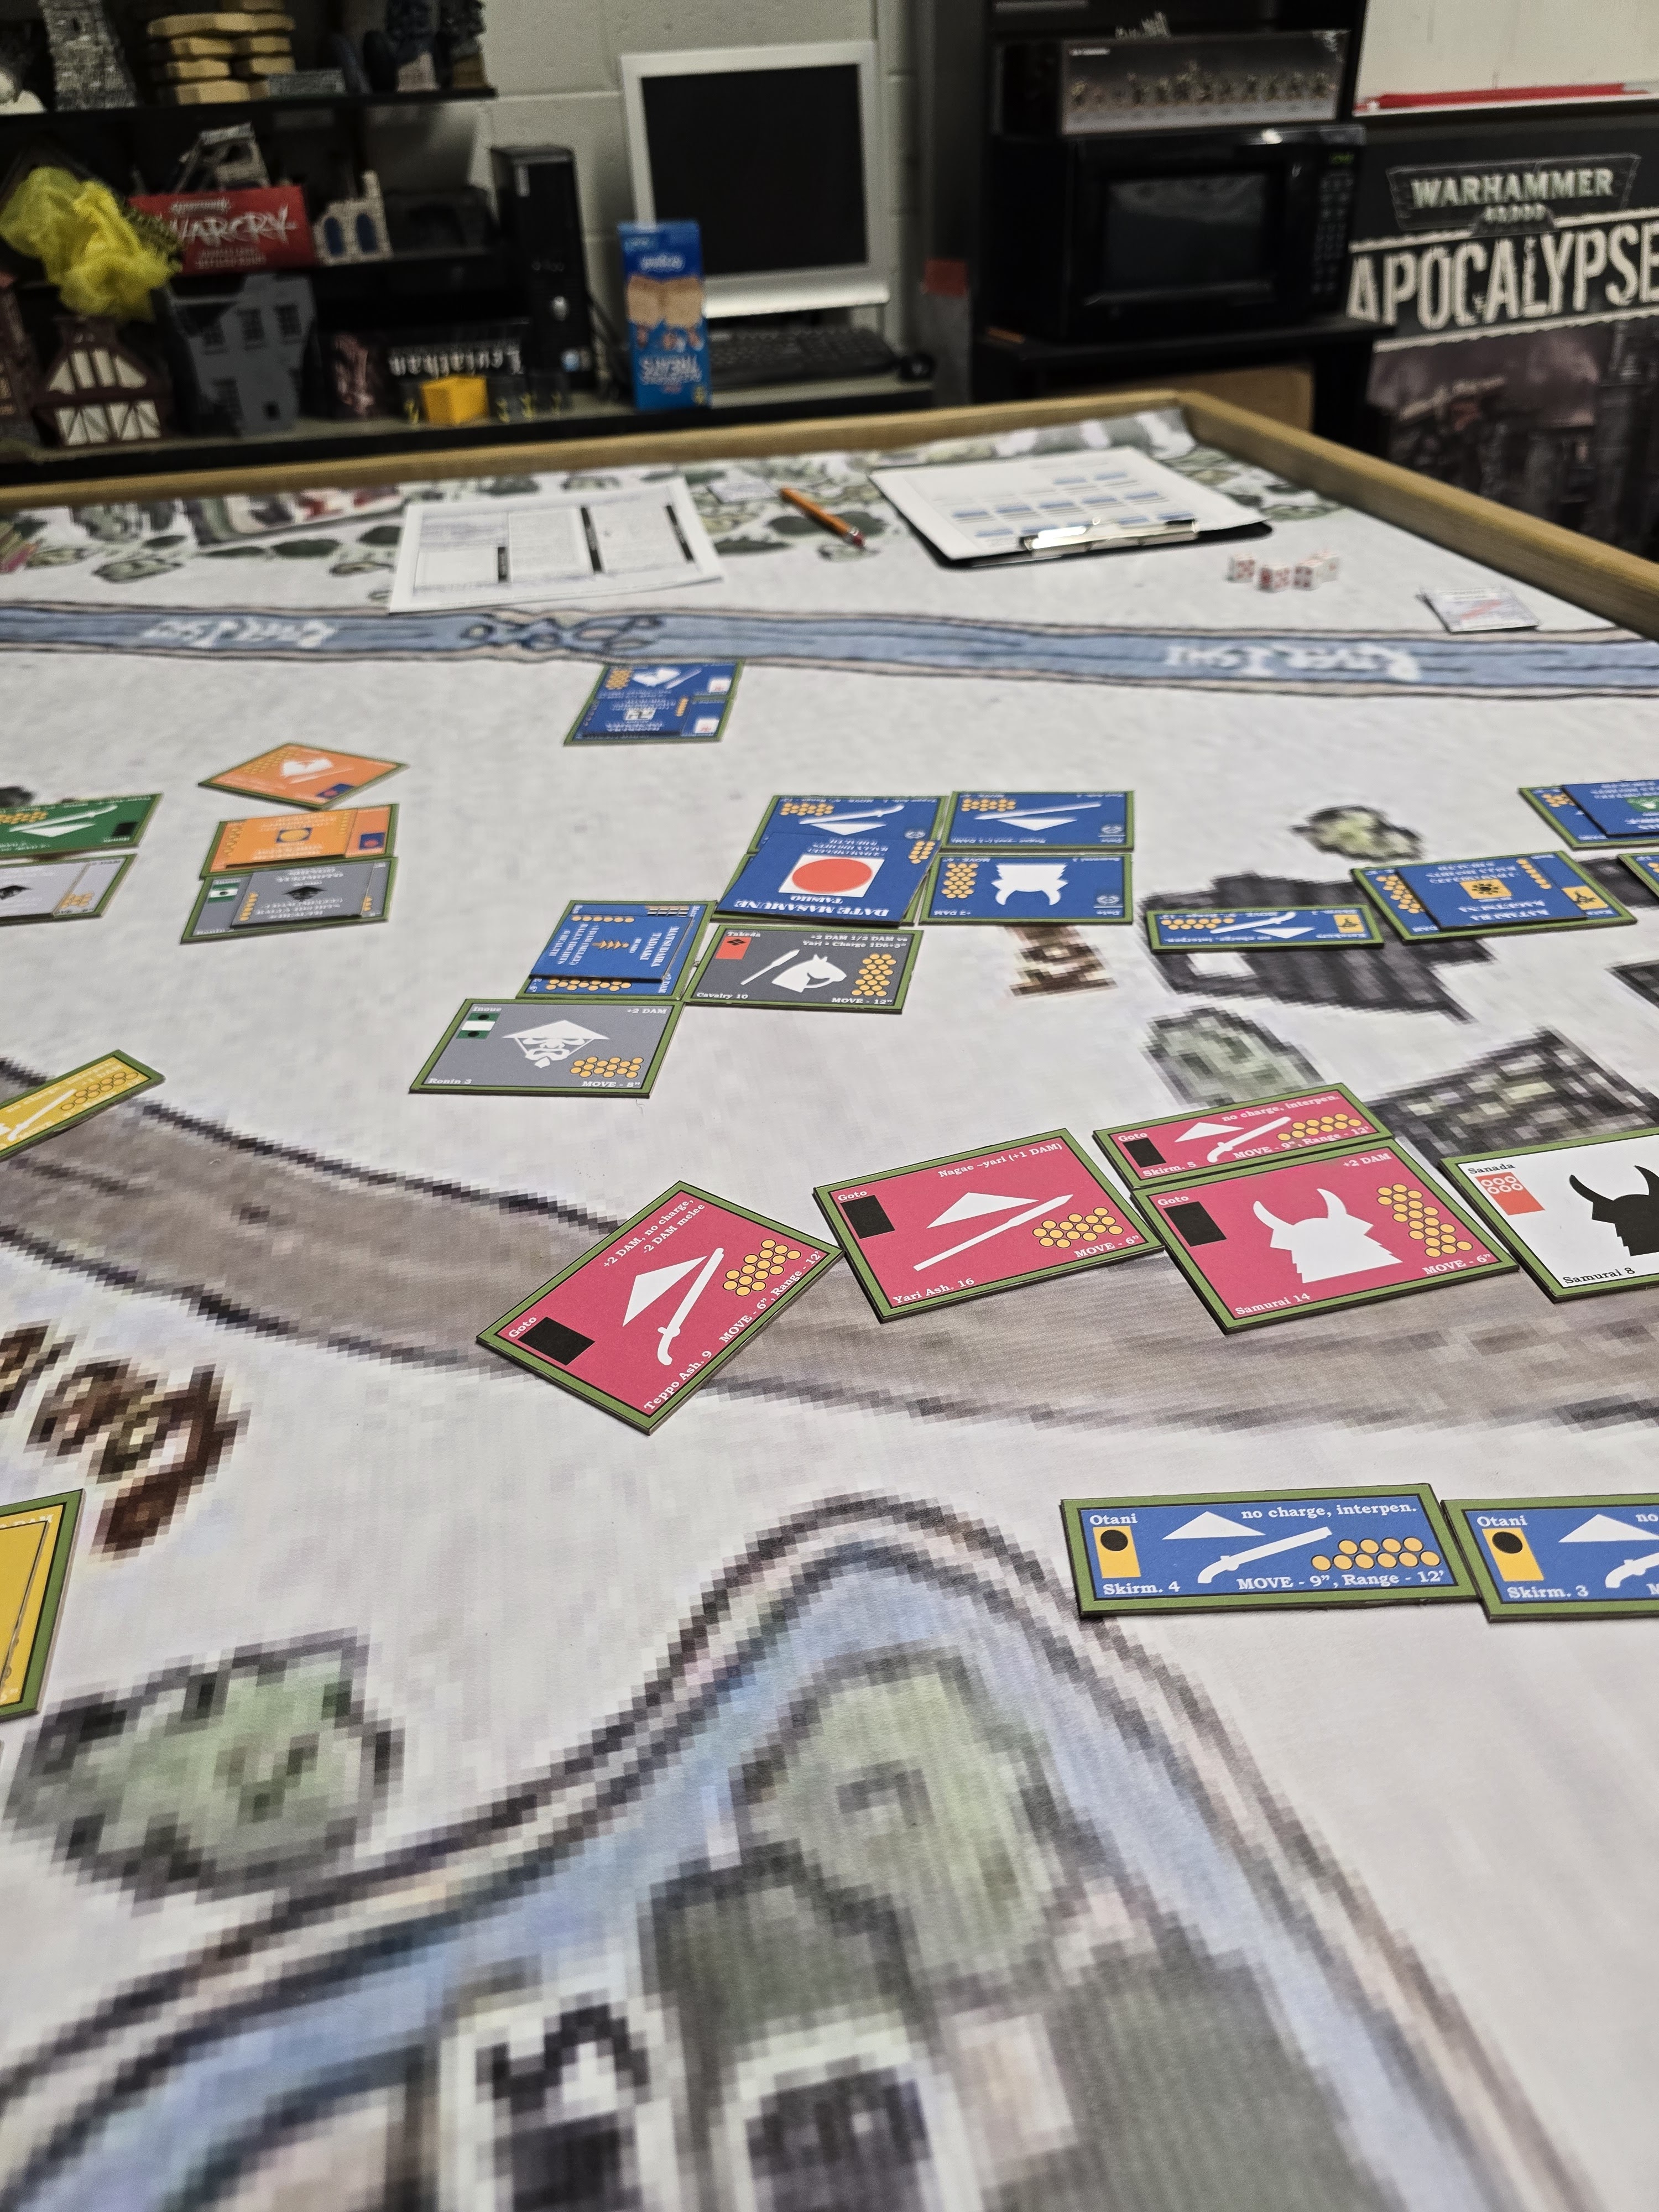
This past weekend, a friend helped me test out my Battle of Domyoji scenario. The set-up was simple. I ordered a 4x6 foot banner printed up with the map on it and I had printed card counters for my units that were proportionately sized for the map.

The photo above is the view from the Osaka Army side of the table. Below is a view of the Tokugawa lines.

Surging across the field in a wave of fluttering banners, the Tokugawa race towards the Osaka lines. Harkening back to days of old, the first to meet their thrust is a lone unit of Takeda cavalry. Now only a shadow of their vaunted predecessors, nonetheless their bravery is on display for all to see. Straight into the Date lines they ride.

Feeling the pressure on their frontline units, the Osaka army begin calling up their reserves.


Fighting is fiercest in the village of Konda where Date forces face the combined weight of both the Sanada and the Mori sonae.

Then, from out of the smoke and confusion of the battlefield, a dark figure strikes. Ninja! The dastardly Tokugawa have sent an assassin to kill the leader of the Osaka army. But Sanada Yukimura is no fool, prepared for this very eventuality, his own shinobi leapt forward to block the killing blow and foil the evil plan.

As the battle rages all along the front, in spite of the support from remnants of the Goto tai, the valiant Takeda are defeated, though they die with their honor intact.


The fighting concludes with with the Susikida facing off against the Murakami. Disgraced before the battle, Susukida Kanesuke attempts to reclaim his honor in a death ride at the forefront of his tai. Though he bests Murakami Yoshiaki in single combat, he is robbed of redemption as the Honda forces are crushed but he still remains alive.


As the battle concludes, the Tokugawa firmly hold the town of Domyoji while the village of Konda is contested. The remaining villages are controlled by the Osaka army, but due to the casualties they've endured the game ends in a draw.
All in all this was a very successful playtest of the scenario and the rules. There are a few things that need to be tweaked and clarified, but the balance seems good. A random rule is that the Goto forces, and possible Goto Motosugu himself, may be available for the battle. Those that were available for this playthrough through were pivotal in supporting the defense north of Konda. there may be another play test so we'll see how history unfolds a second time. Additionally, none of Tokugawa Tadateru's sonae made it on the field. The force is very large and could have turned the tide of the battle if they'd arrived on time. Interestingly enough, however, in real life Tadateru was exiled by his father after the battle for not pursuing the Osaka army quickly enough?!
No comments:
Post a Comment